First Touch Soccer Drills: The “Receiving Gate” Game (U10–U14)
Session snapshot
Players: groups of 3 (server, receiver, target) — run 4-5 groups at once for a squad of 12-15. Area: 15 x 20 yards per group, with two 3-yard gates side by side in the middle. Duration: 12 minutes, straight after the warm-up when focus is highest. Focus: a directional first touch — receive on the back foot and play forward through a gate, not a dead stop at your feet.
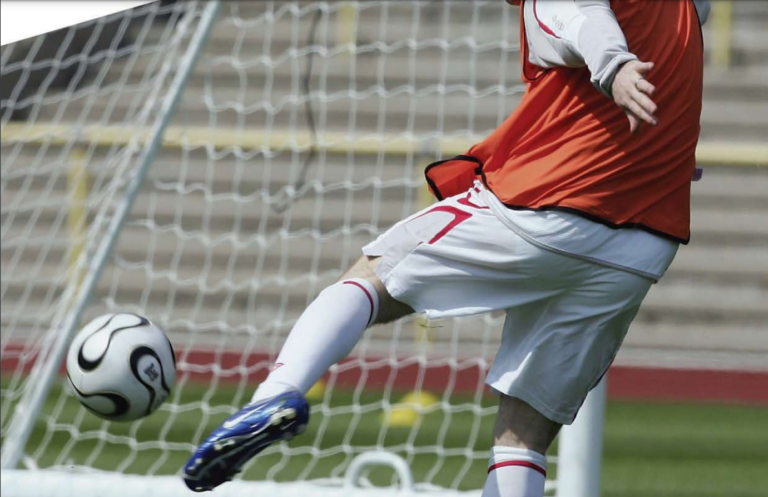
The “bounce-off” is the most frustrating moment in youth soccer. A perfect pass arrives at your midfielder’s feet — and their first touch bounces six yards away, straight to an opponent. We usually blame technique. But watch closely: the real problem is that most receiving drills train players to kill the ball dead at their feet — exactly where the pressure is. In a real match, a dead first touch is a turnover. The fix? Stop training the touch. Start training the direction. “The Receiving Gate” is a constraint-based receiving game that forces players to take their first touch through a gate with their back foot — so every reception automatically faces them upfield, away from pressure. A directional touch is a match-ready touch.
Why “receive and pass back” lines don’t fix first touch
The classic drill: two lines, pass, control, pass back. It rewards the wrong touch.
- No direction: players stop the ball dead under their feet — then need a second touch just to turn.
- No scanning: they know exactly where the ball is coming from and where it is going back.
- No pressure: nobody closes them down, so there is no urgency to move the ball away from danger.
To fix the bounce-off, we need a drill that rewards a directional first touch — one touch that controls the ball and moves it into space at the same time. That is the same principle behind the FIFA Training Centre’s work on directing the ball with the first touch: the receiver’s body shape and first contact should already point at the next action.
The solution: “The Receiving Gate”
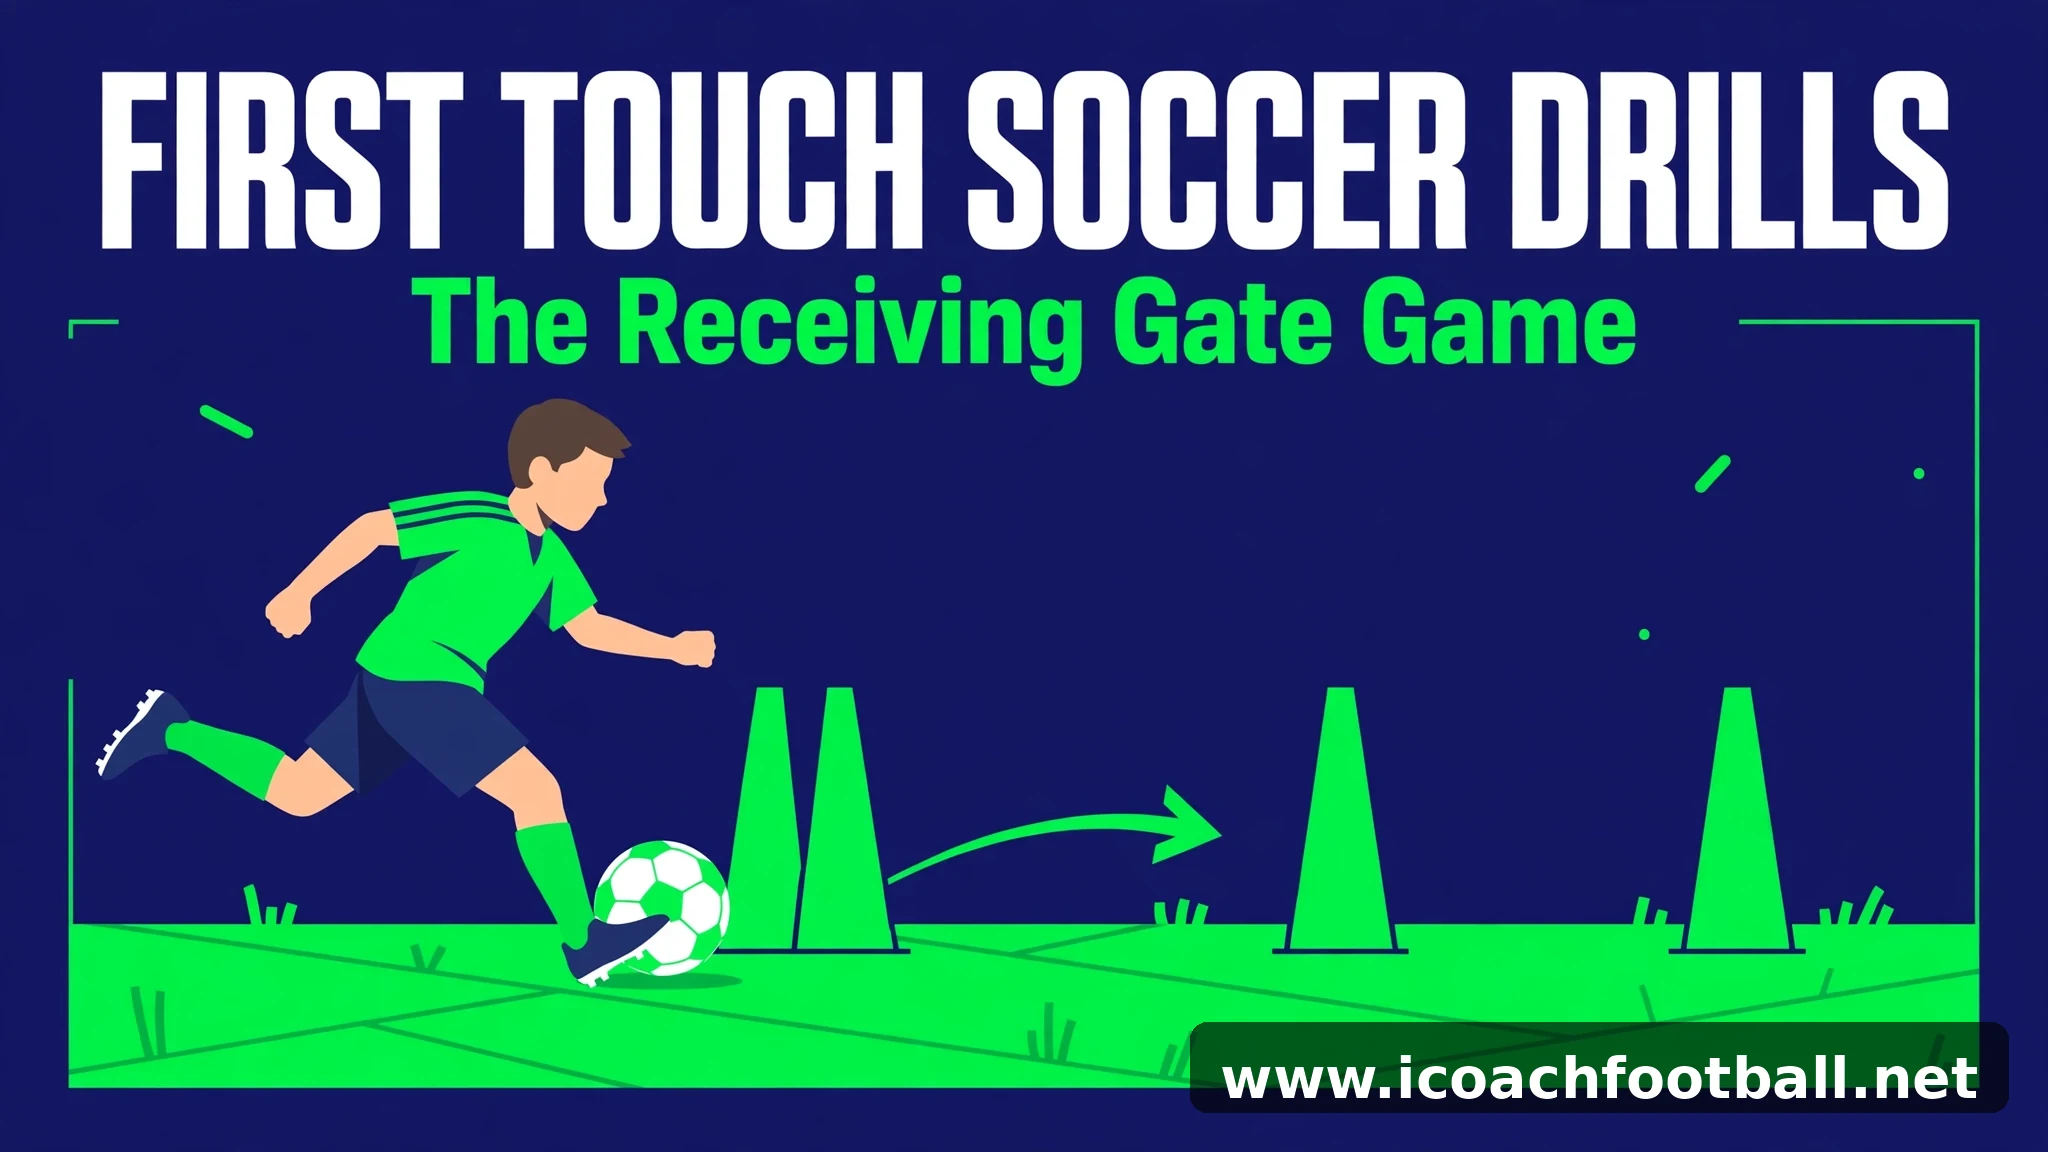
Two gates, one rule: your first touch must take you through a gate. Suddenly every reception has a purpose.
Drill setup
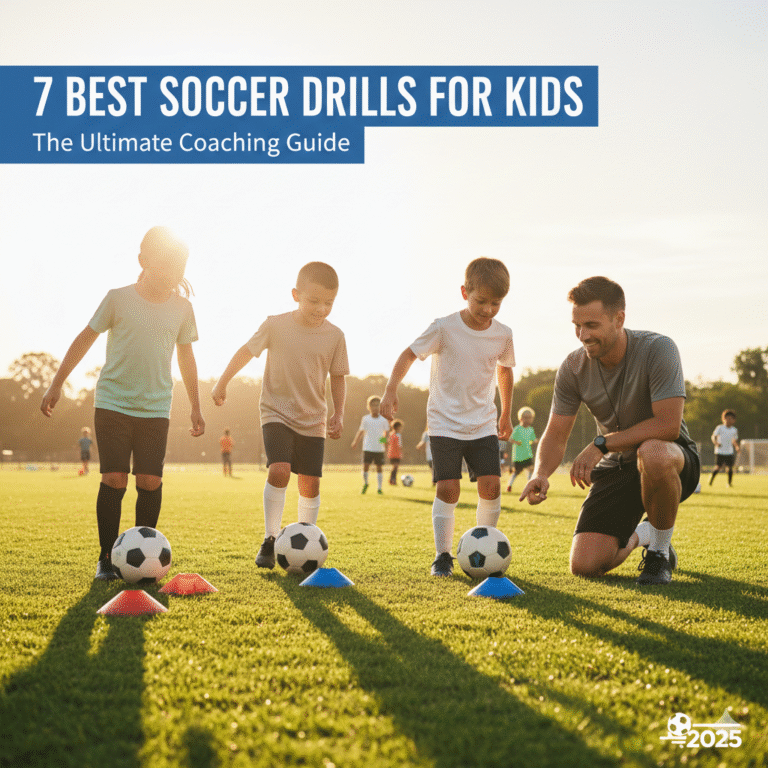
- Grid size: 15 x 20 yards, with two 3-yard gates (red and blue cones) side by side in the middle.
- Players: groups of 3 — one server, one receiver, one target. Rotate every 90 seconds.
- Equipment: 4 cones for the gates (2 red, 2 blue), 1 ball per group.
- Duration: 12 minutes, right after the warm-up when focus is highest.
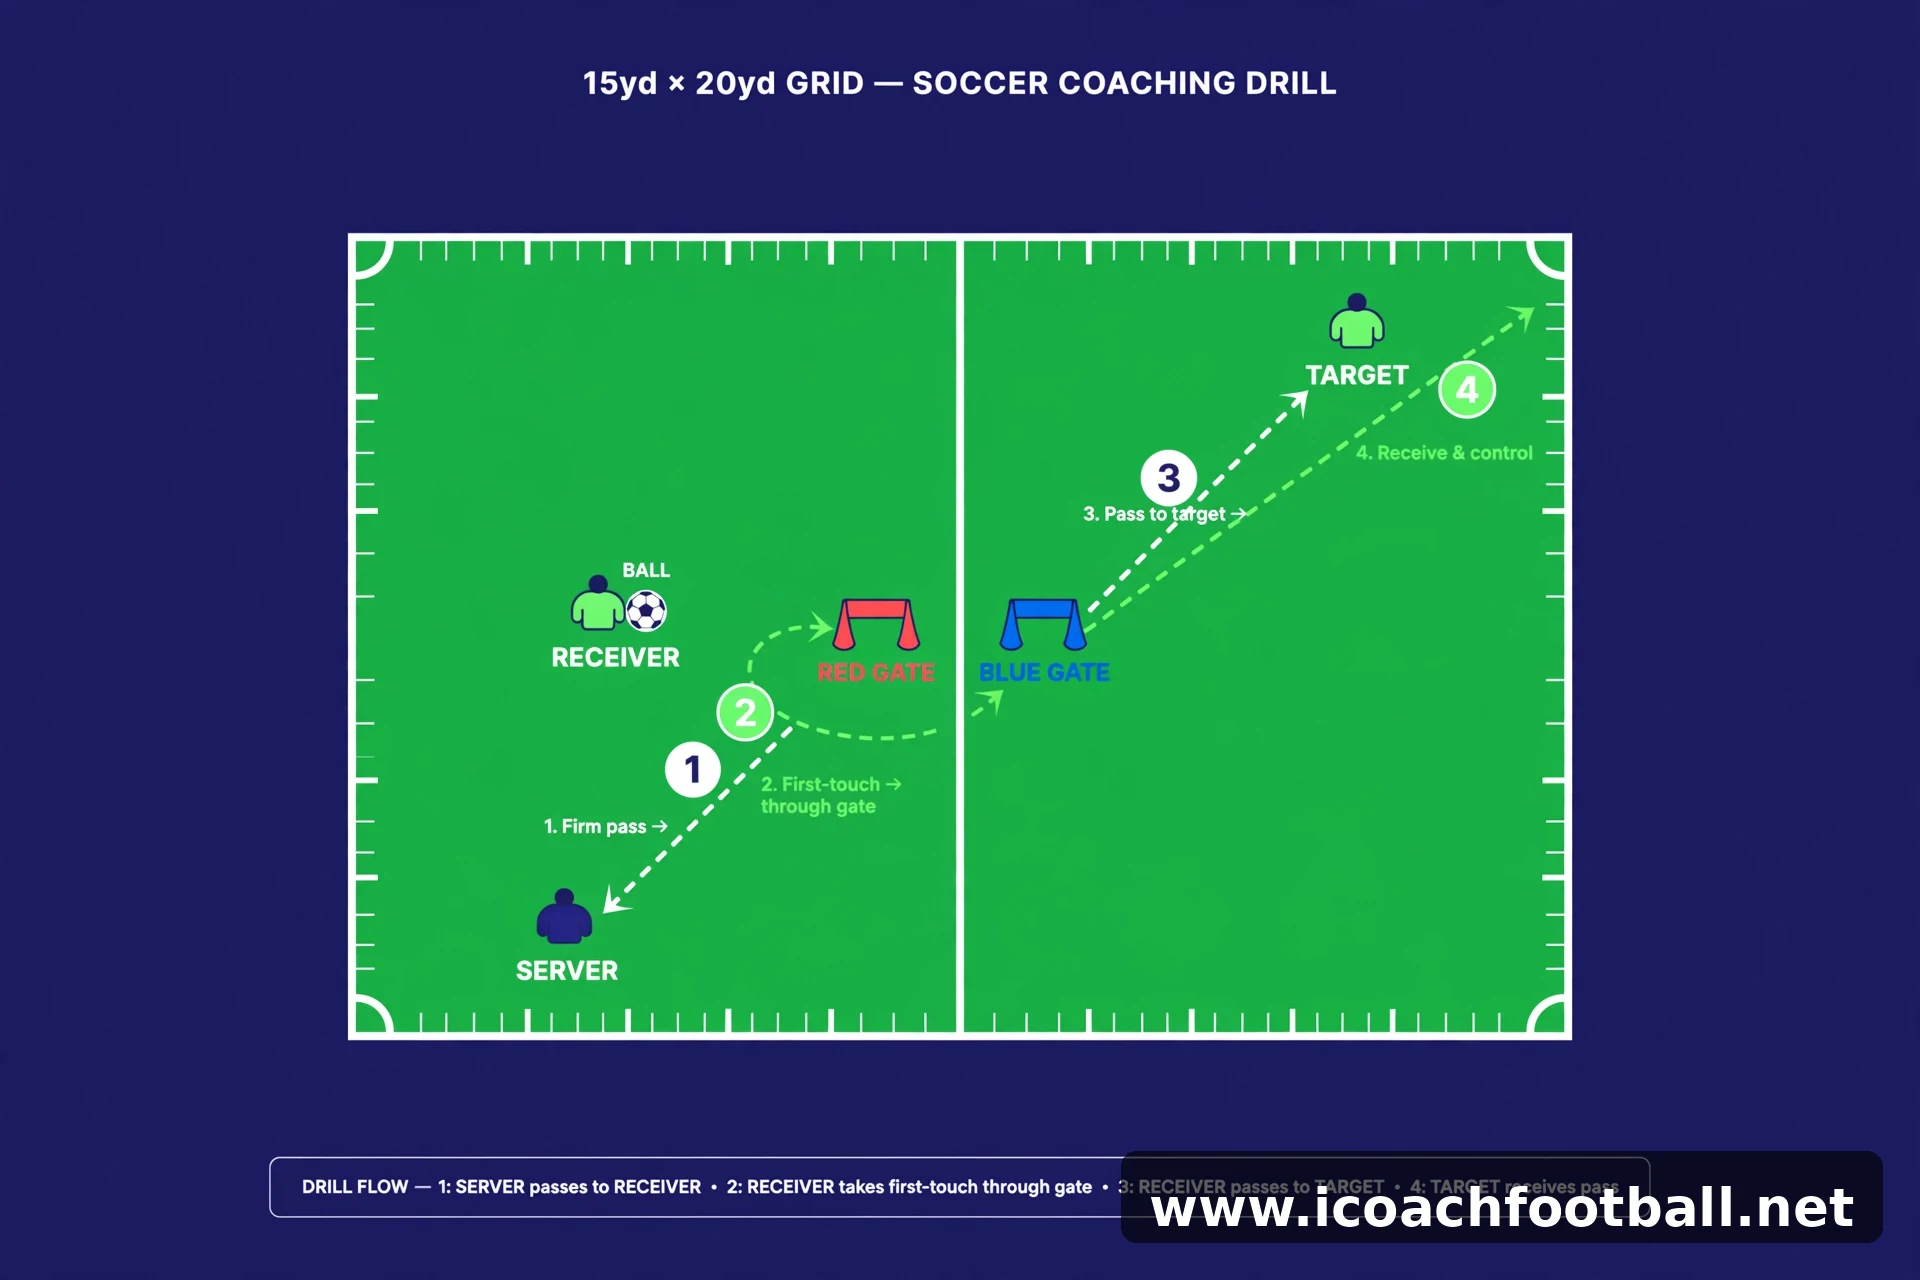
How it works
- The serve: the server plays a firm ground pass to the receiver from 12 yards out.
- The call: as the ball travels, the coach calls “RED!” or “BLUE!” — late enough that the receiver cannot pre-plan.
- The touch: the receiver takes their first touch through the called gate, using the back foot.
- The finish: the receiver plays a firm pass to the target beyond the gate, then rotates to the back of the line.
- The rotation: server becomes receiver, receiver becomes target, target becomes server. Every 90 seconds, shout “ROTATE!” — no standing around, no queues.
Cue phrases to shout from the sideline: “Back foot!” as the ball travels, “Through the gate, not into it!” on contact, and “Head up — find the target!” before the second pass.
Coaching points: the three cheats
Avoid stopping the drill every 30 seconds. Give your players these three “cheats” instead.
- “Back foot, front direction” — Receive across your body with the foot farthest from where the ball came from. It opens your hips toward the gate in one motion — no second touch needed to turn.
- “Cushion, don’t kill” — Meet the ball with a soft ankle, withdrawing the foot slightly on contact — like catching an egg. A dead stop means a second touch; a cushioned touch is the turn.
- “Touch beyond the gate, not into it” — Aim the first touch 2-3 yards past the gate. If the touch dies inside the gate, a real defender catches up and the advantage is gone.
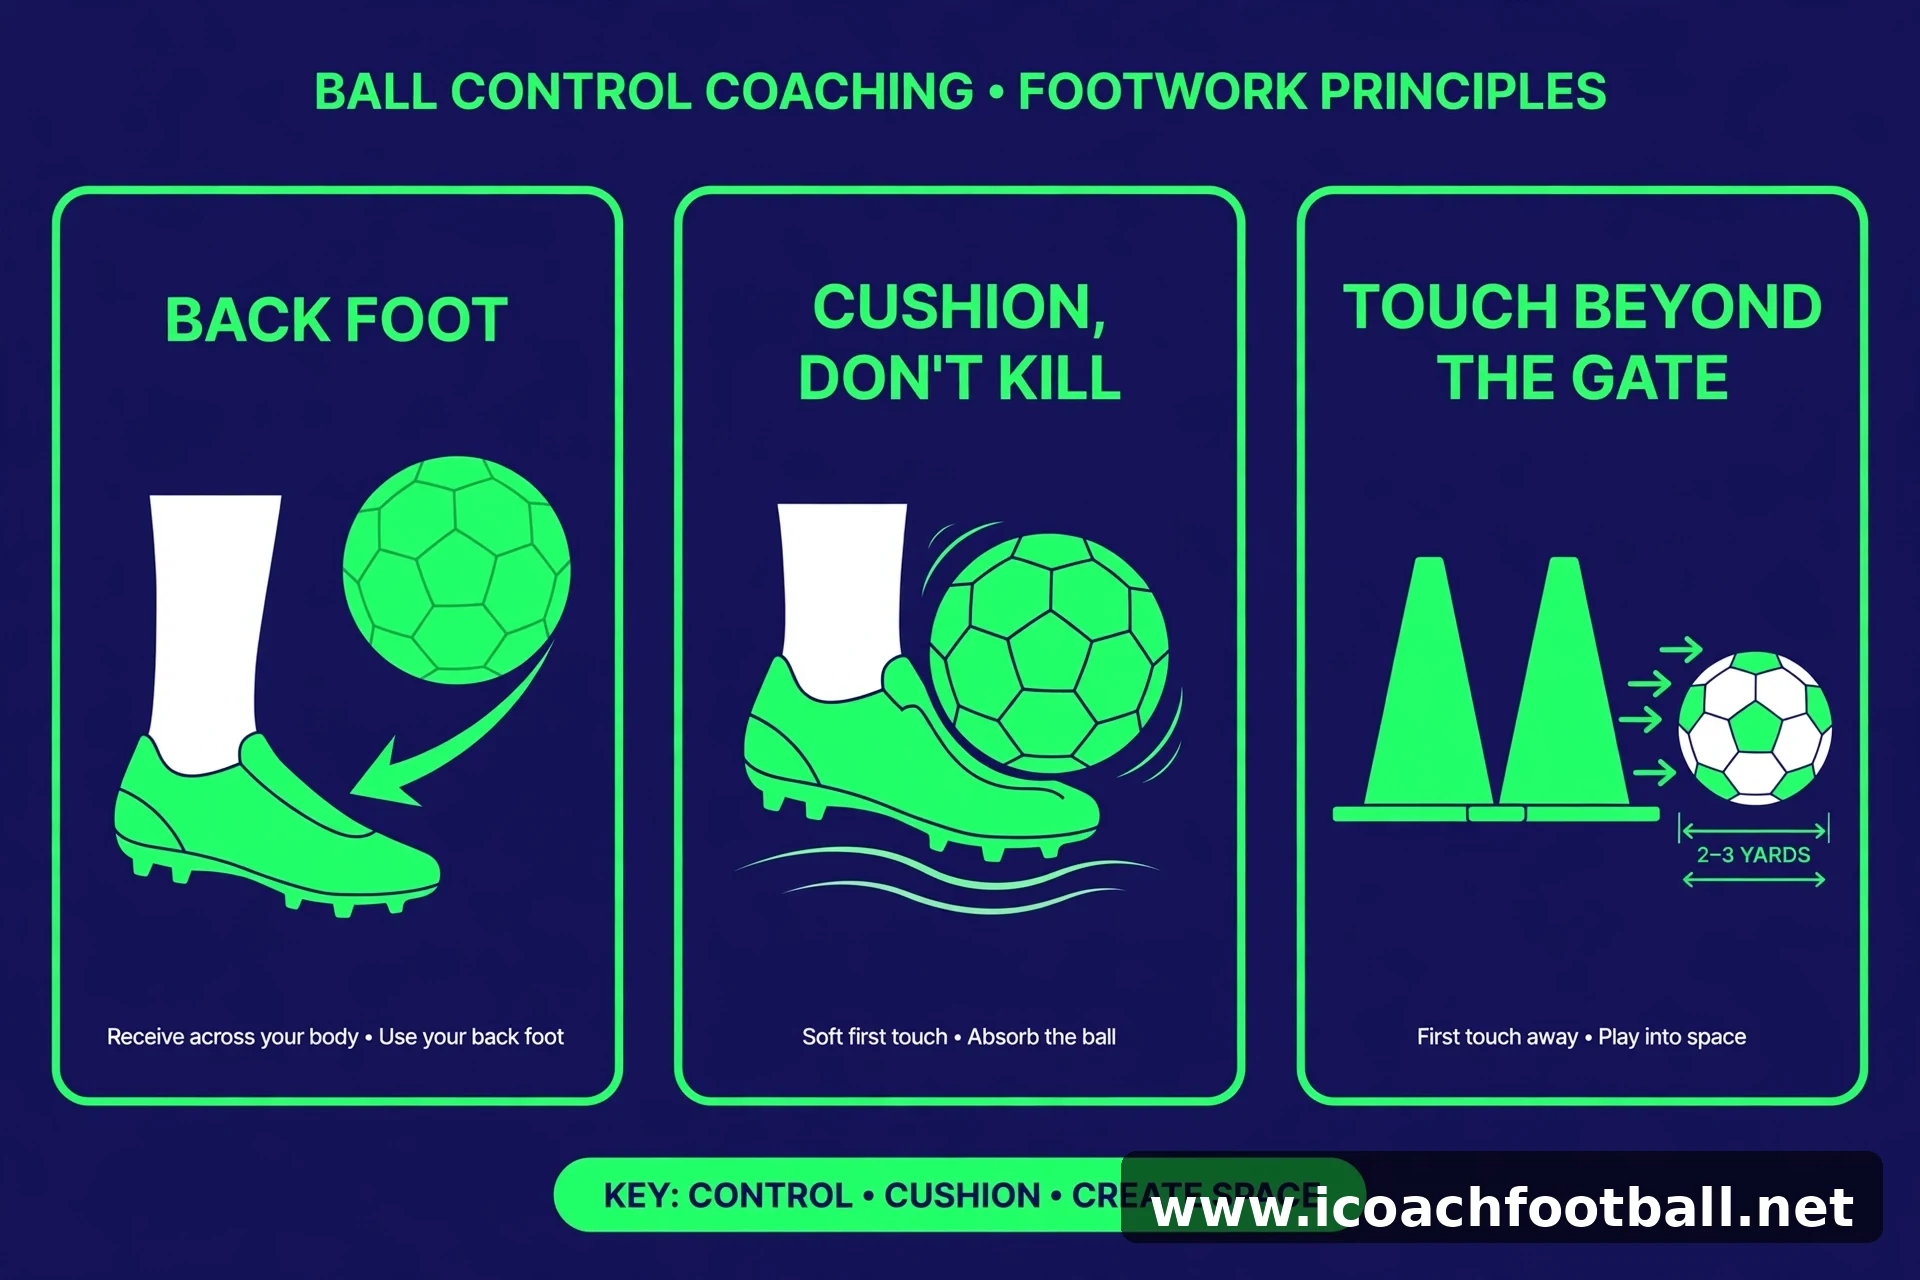
Pro coach tip: if a player’s touch keeps bouncing off them, check their ankle, not their effort. A locked ankle at contact acts like a wall. Teach them to soften the ankle and withdraw the foot a few inches as the ball arrives.
Common mistakes — and the fix
- Receiving square-on with the front foot. The player has no escape route and must take an extra touch to turn. Fix: stand side-on, back foot ready, before the pass is played.
- Watching the ball all the way onto the foot, then looking up. By then the gate call is late and the defender is there. Fix: one look over the shoulder before the serve, then trust the touch.
- A soft, under-hit serve. A slow ball lets the receiver cheat with a lazy touch. Fix: servers must pass firmly — a bad serve is a wasted rep, so coach the servers too.
- Stopping the ball dead and then dribbling through the gate. That is two touches, not one. Fix: no second touch before the gate — if it stops, the rep does not count.
Progressions
Once the basic version is clean, layer in pressure:
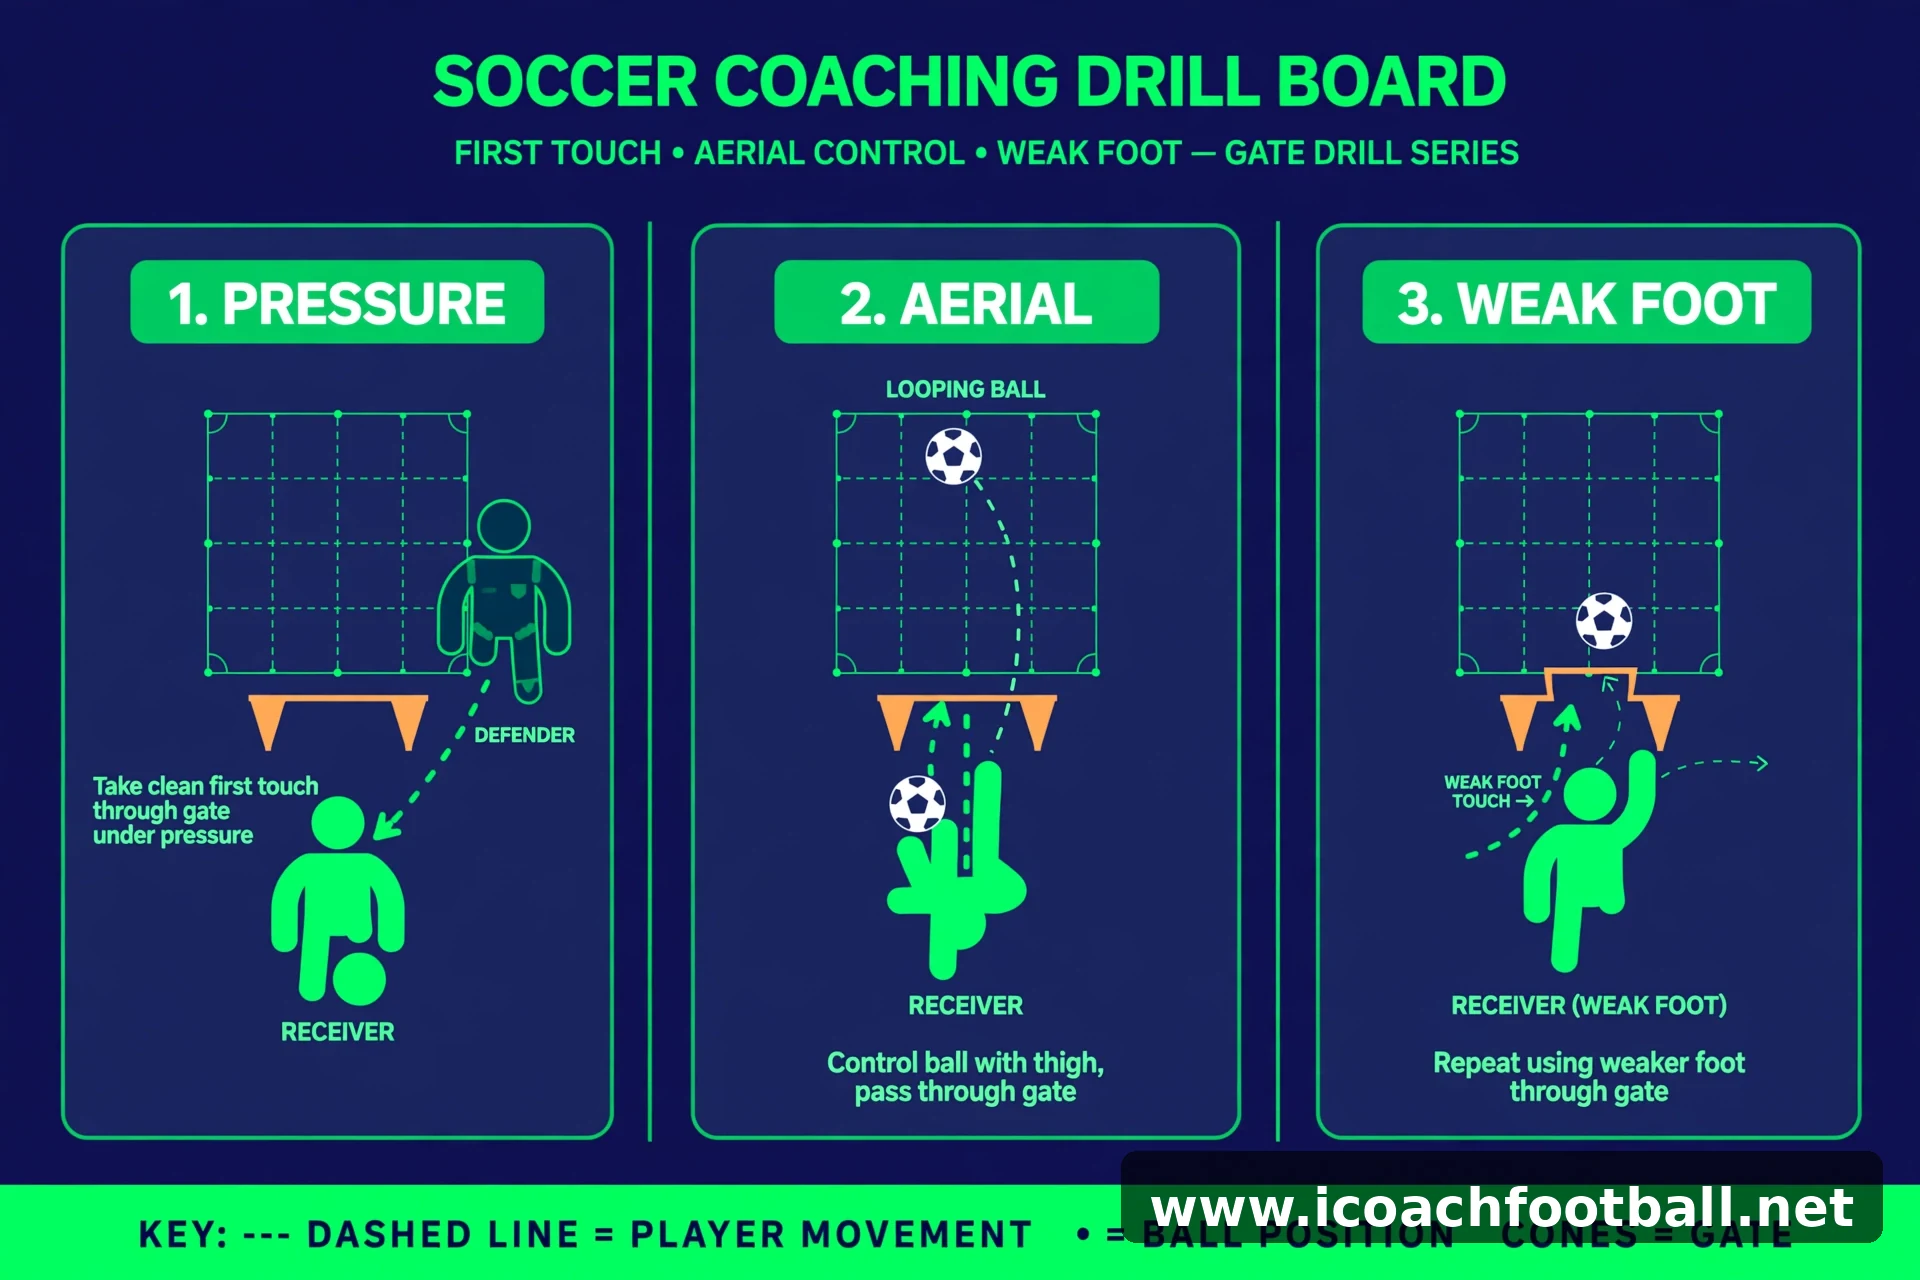
- Level 2 – Passive pressure: add a defender who jogs toward the receiver after the pass is played. The touch must now beat a real (slow) opponent.
- Level 3 – Aerial serves: the server throws or chips the ball in. The receiver controls with thigh or chest through the gate.
- Level 4 – Weak foot only: the entire rotation goes on the weak foot. Watch the bounce-offs come back — that is the point.
- Level 5 – Live defender: for U13+, the defender goes fully live from the moment of the serve, and the second pass must be played first-time.
How the drill changes by age group
- U8-U9: widen the gates to 4 yards and drop the called color — let them choose. Celebrate any touch that goes through.
- U10-U12: as written. This is the sweet spot for the full version.
- U13+: shrink the gates to 2 yards, make the defender live, and require the second pass to be played first-time.
Conclusion
If your players’ first touches keep bouncing into trouble, stop running static receiving lines. The Receiving Gate gives every reception a direction — and a directional touch is a match-ready touch. Next step: a great first touch means nothing if players don’t see what’s around them. Pair this with our 5 soccer scanning drills to train the look before the touch, build the passing quality underneath it with our soccer passing drills, then slot the full 12-minute block into the 60-minute plan for structuring the perfect youth soccer session.
What is the best first touch drill for beginners?
Start unopposed and simple: wall passing or partner serve-and-receive, focusing on a soft ankle and the back-foot reception. Once players can consistently keep the ball within two yards, add direction with a gate — like the Receiving Gate above.
How do you coach first touch in football for kids?
Keep it game-realistic: every reception should have a direction and, ideally, a decision. Avoid long static lines. Use small grids, gates, and called cues so young players scan and decide while the ball is moving — that is what transfers to match day.
Why does my player’s first touch bounce so far away?
Two usual culprits: a locked ankle at contact (the foot acts like a wall and the ball ricochets) and receiving square-on with the front foot (no escape route, so the ball has nowhere good to go). Fix it with the back-foot receive and a cushioning, withdrawing motion.
At what age should players learn a directional first touch?
You can introduce the idea at U8-U9 with wide gates and free choice of direction. The full version — called gates under time pressure — lands best at U10-U12, when players can scan and decide at the same time.
How long should you spend on first touch in a session?
Twelve focused minutes is plenty: it fits right after the warm-up, before fatigue and attention drop. Revisit it as a 6-minute refresher in the next two sessions rather than drilling it for half an hour once — short, sharp, repeated reps are what stick.