Football Free-Kick Routines: Training-Ground Plays That Score
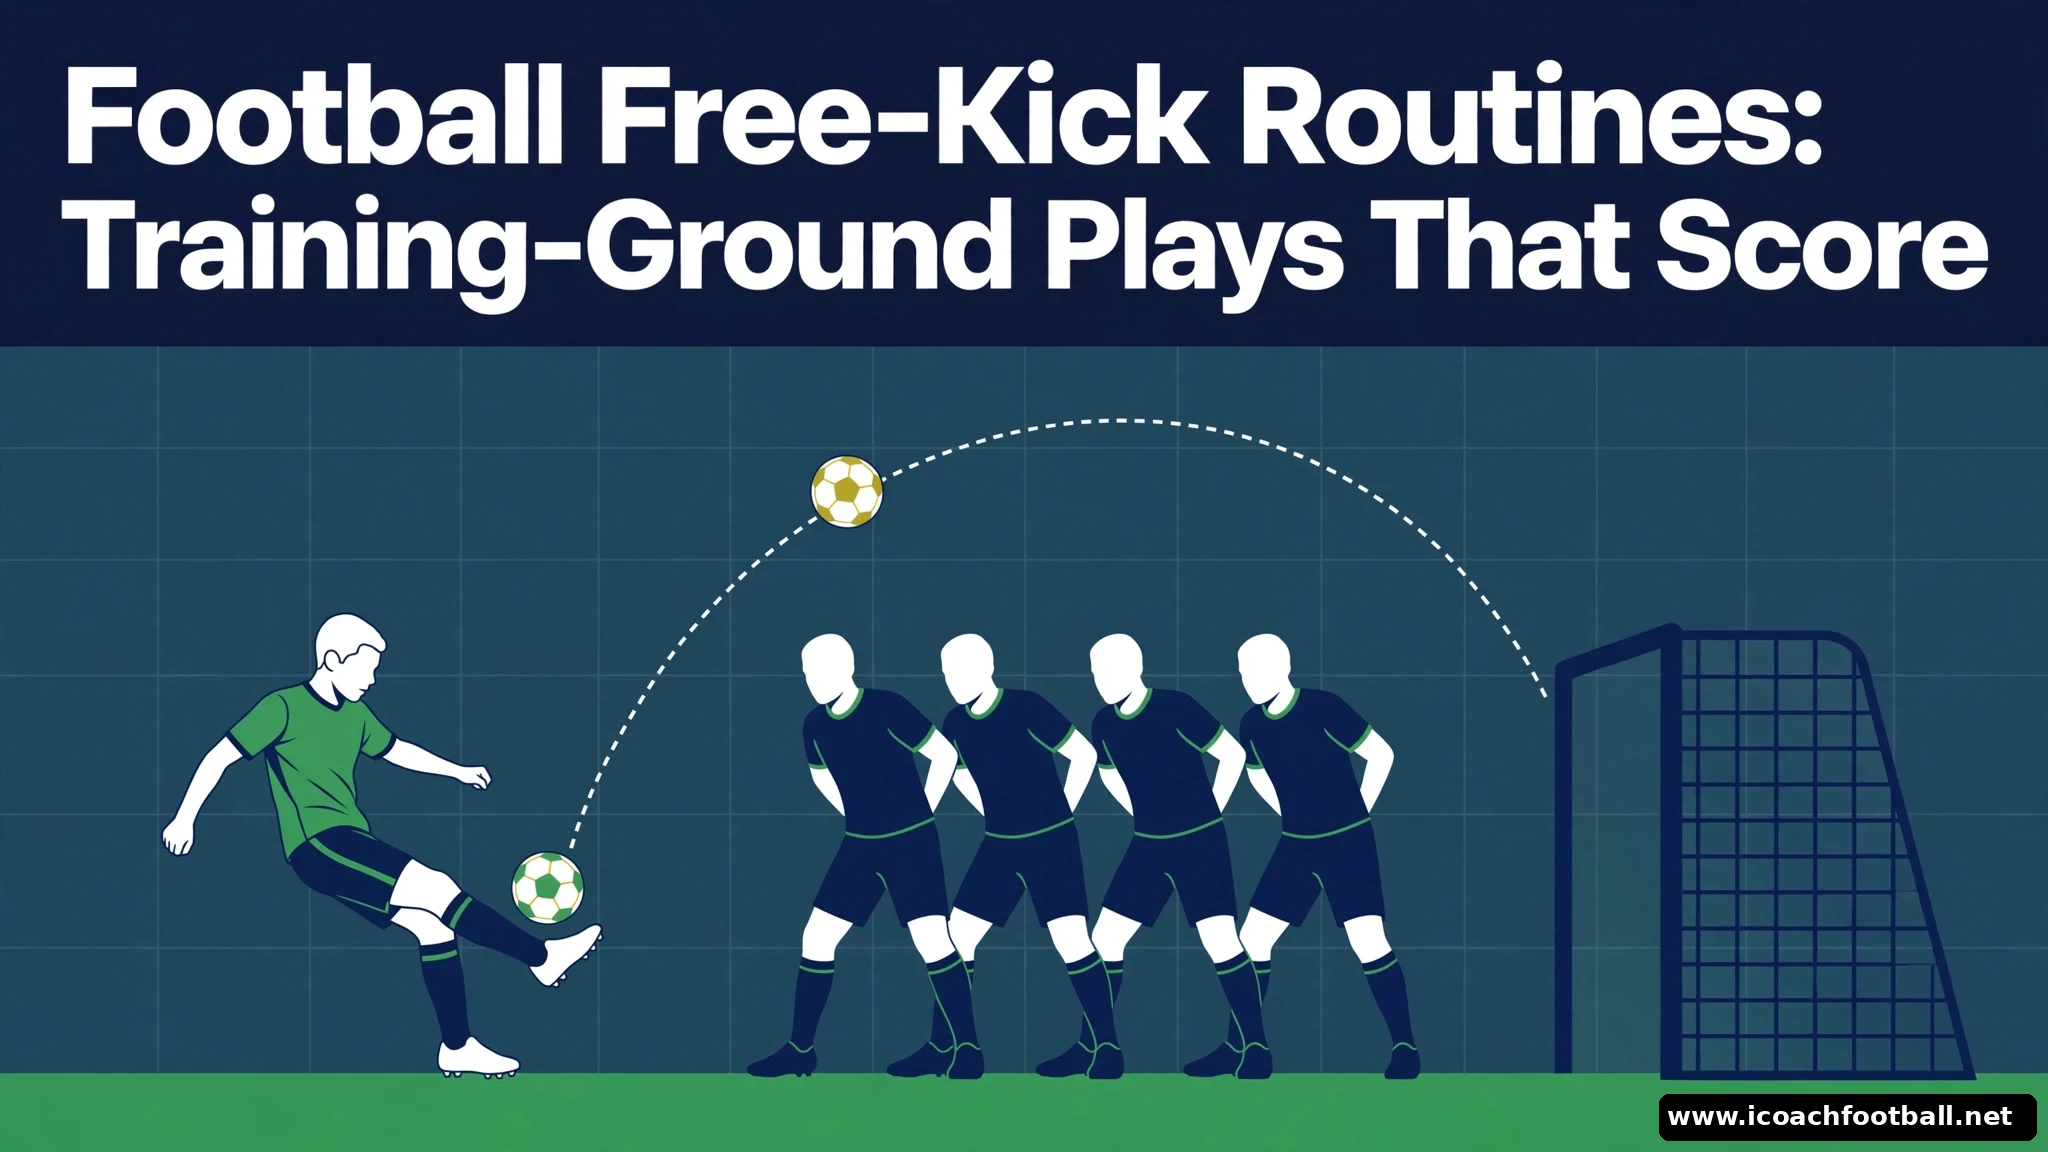
Quick answer: Give every free kick one named routine, one signal and one taker. Start with a direct strike, a layoff and a wide delivery. Most youth free kicks fail because nobody decided what happens before the kick.
Most youth free kicks are wasted. A player stands over the ball, everyone else stands still, and the kick goes straight into the wall. A free kick is a rehearsed play, not a hopeful shot.
These six football free kick routines give a youth team a complete dead-ball menu: direct strikes, layoffs, dummies, a wide delivery and a live game that tests them all. The same routines work in soccer anywhere, because the wall distance, the angles and the timing do not change. Every routine states the signal, the starting spots and the finish, so a coach can run it from the diagram and steps alone.
Session snapshot:
- Players: 12–16 (takers, runners, wall, goalkeeper; Routine 6 uses 8v7 plus goalkeepers)
- Area: One half, working from 18–30 yards out; one goal for most routines
- Duration: 60 minutes (45-minute version: Routines 1, 2 and 6 only)
- Focus: Wall distance, delivery zones, timed runs, disguise, second balls
- Equipment: 8–10 balls, 12 cones, bibs, mannequins or cones for the wall, 1 full-size or age-appropriate goal
- Age: U10–U16 (direct shooting from distance only when players can clear the wall — see age adaptations)
Session overview table:
| Time | Activity | Main objective |
|---|---|---|
| 0–8 min | Striking practice | Clear a cone wall and hit a named corner, no defenders |
| 8–18 min | Routines 1–2 | Direct strike and layoff strike |
| 18–28 min | Routines 3–4 | Dummy routine and wide delivery |
| 28–38 min | Routine 5 | Low strike around or under the wall |
| 38–55 min | Routine 6 | Live free-kick game, routines by signal |
| 55–60 min | Reset and repeat | Best routine, both sides, no wall first |
Organise every free kick before the whistle
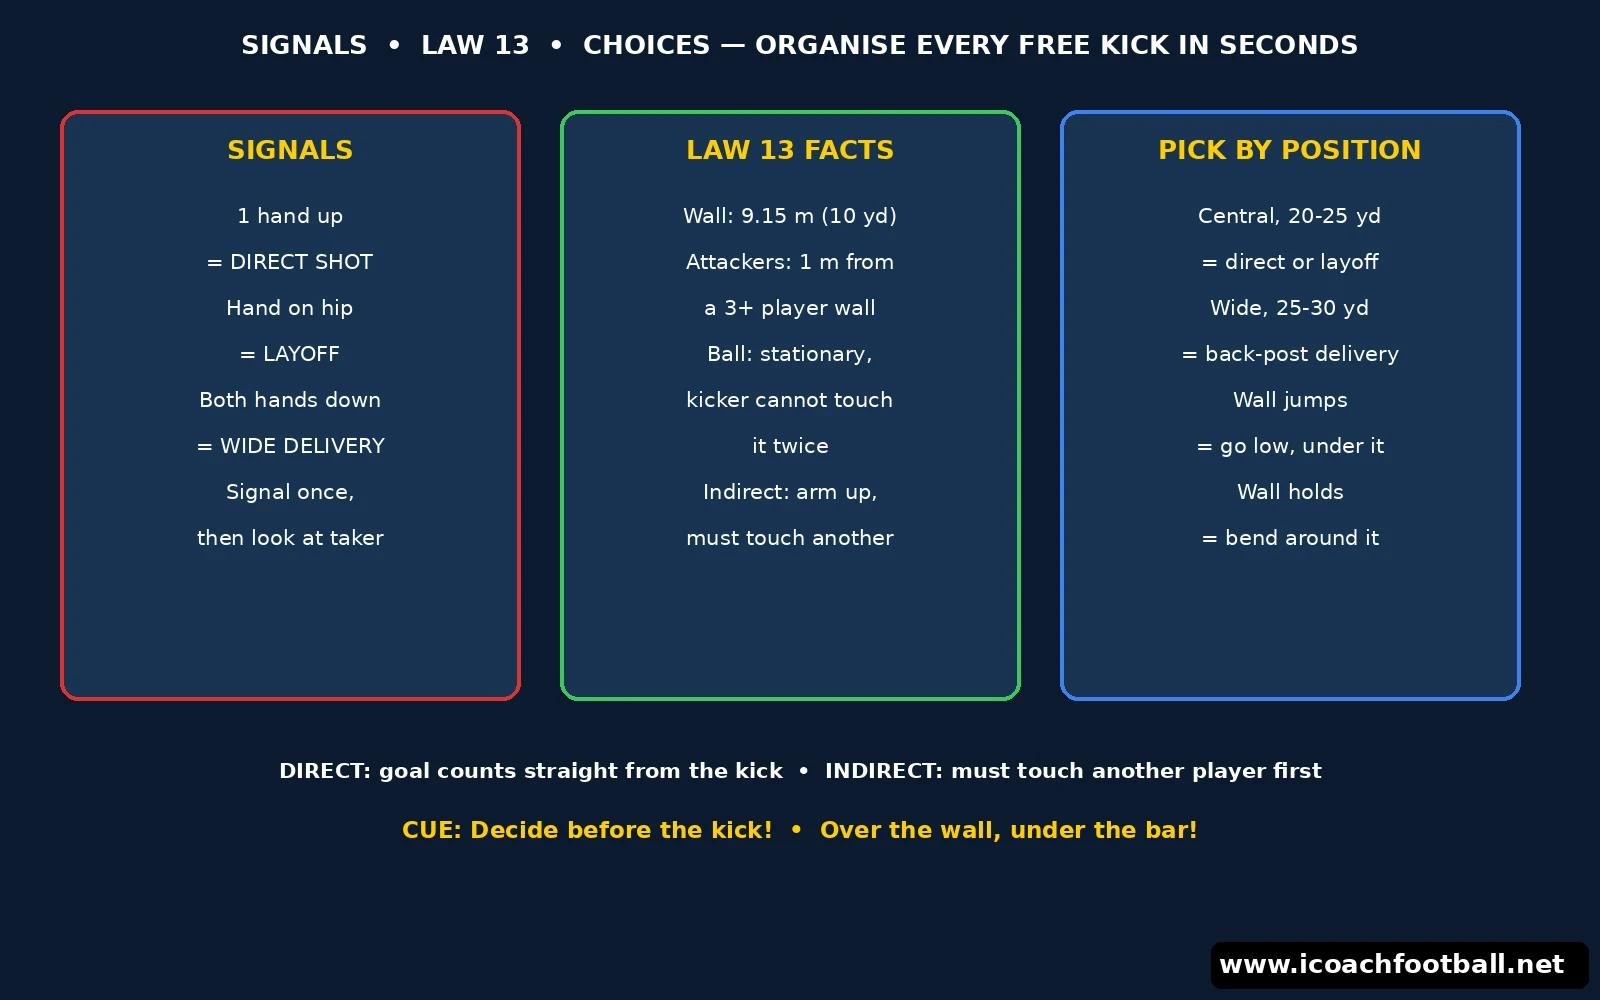
- Signals: One hand up means a direct shot. A hand on the hip means a layoff. Both hands down by the sides means a wide delivery. Signal once, then look at the taker — no shouting across the pitch.
- Roles: Name one taker for each side and one second taker for layoffs and dummies. Name the runners for each routine and one player to stay back for the counter-attack.
- Wall rules: Opponents must be at least 9.15 metres (10 yards) from the ball until it is in play. Where three or more defenders form a wall, attackers must stay at least 1 metre from the wall until the ball is in play. These points follow IFAB Law 13, linked at the end of this post.
- Direct or indirect: A direct free kick can be scored straight from the kick. An indirect free kick must touch another player first — the referee holds one arm up until it does. Check the signal before every routine.
- Cue: “Decide before the kick!” If players are still talking when the taker runs up, the routine is already dead.
Routine 1 — Direct Over the Wall
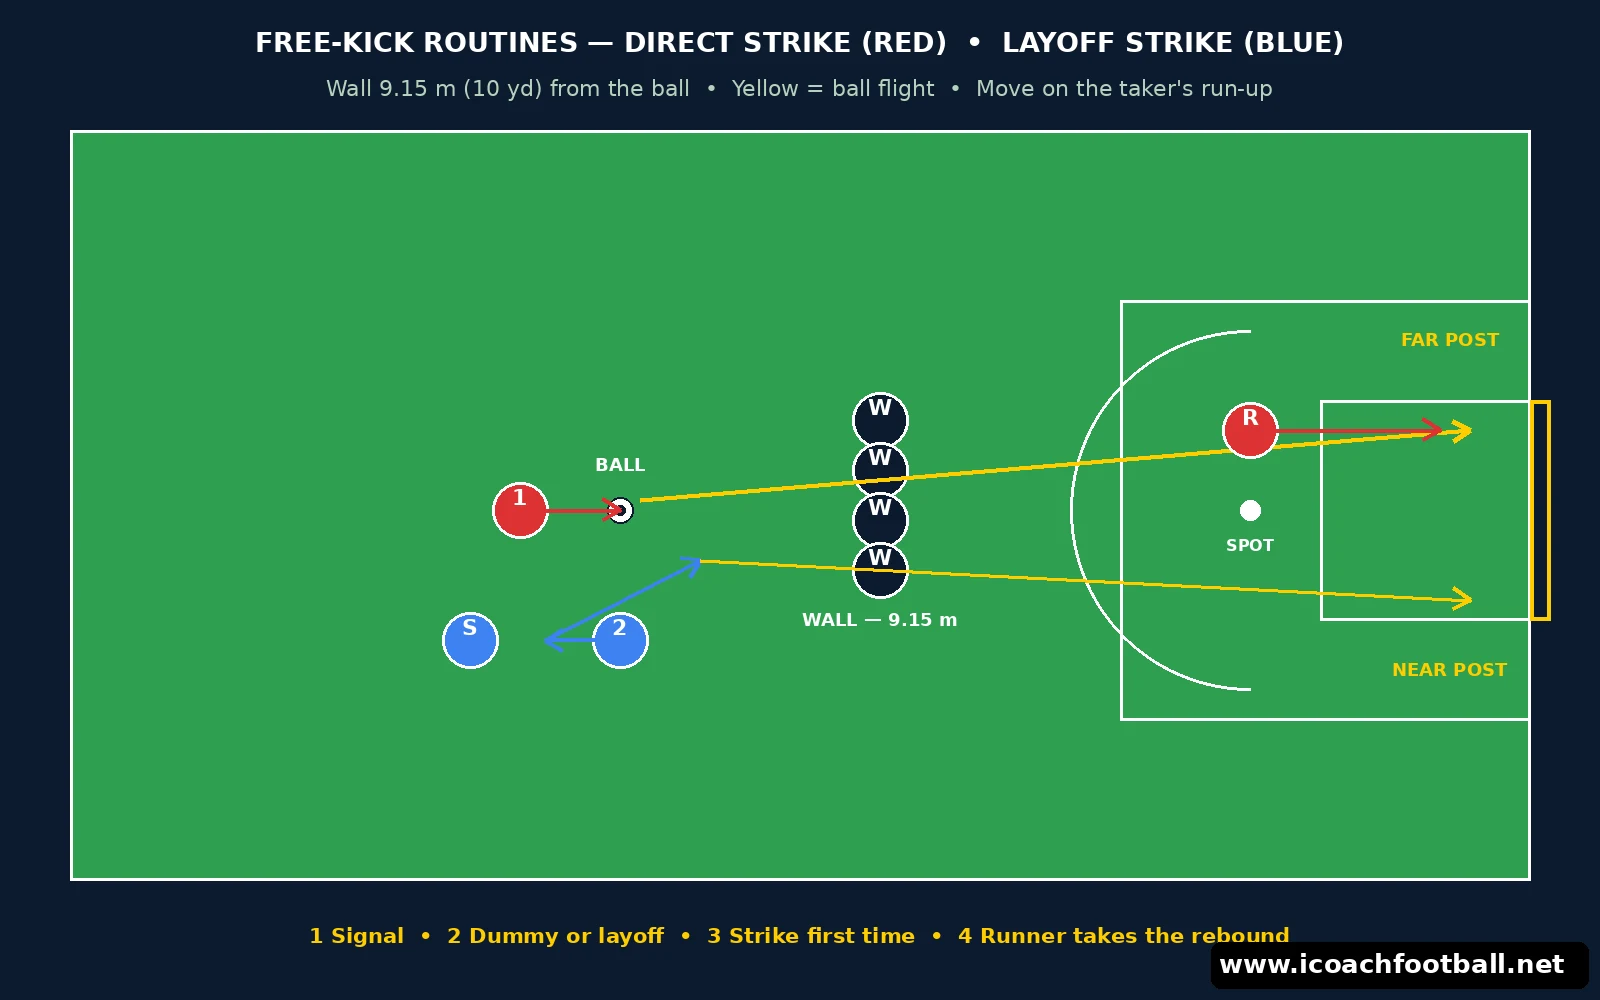
The classic free kick. Lift the ball over the wall and bring it down under the bar.
Setup: Ball central, 20–25 yards from goal. Wall of 3–4 mannequins or players, 9.15 metres away. Taker behind the ball, goalkeeper in goal.
How to Play:
- The taker raises one hand for the direct shot.
- The taker takes 3–4 steps back, at a slight angle to the ball.
- The plant foot lands beside the ball, pointing at the target corner.
- The taker strikes with the instep or inside of the foot, leaning back slightly for lift.
- The ball clears the wall and dips into the far top corner; one runner follows in for the rebound.
Coach’s note: Aim over the wall, not at the goalkeeper. The cue is “Over the wall, under the bar!” If every shot hits the wall, move the ball 3 yards closer and build the distance back up.
Progressions: Move the ball wider, so the taker must bend it around the wall, then add a live wall that jumps.
Routine 2 — Layoff and Strike
A short touch sideways turns a blocked shot into a clean strike. The wall jumps for a shot that never comes.
Setup: Ball central, 22–28 yards out. Taker behind the ball, second taker 2 yards to the side. Wall of 4, 9.15 metres away, goalkeeper in goal.
How to Play:
- The second taker puts a hand on the hip to signal the layoff.
- The taker steps over the ball and runs past it, drawing the wall’s attention.
- The second taker rolls the ball 2 yards sideways, into the striker’s path.
- The taker, now arriving at full pace, strikes first time, low and hard.
- One runner attacks the rebound; the edge player holds for the clearance.
Coach’s note: The layoff must be short and still. A rolling ball is easy to strike; a bouncing ball is not. The cue is “Touch, then hit it!”
Progressions: The second taker fakes the layoff and the first taker shoots, then reverse the roles so both takers can strike from either side.
Routine 3 — The Dummy and the Second Taker
Two players over the ball, one shot. The defence watches the wrong taker.
Setup: Ball 20–30 yards out, slightly to one side. Two takers behind the ball, one left-footed and one right-footed where possible. Wall of 4, 9.15 metres away.
How to Play:
- Both takers stand over the ball; the real taker gives the signal with a nod.
- The dummy taker runs up first and steps over the ball.
- The wall and goalkeeper shift towards the dummy taker’s side.
- The real taker strikes at the space the wall has just left, bending the ball around it.
- Runners attack the far post for the rebound if the goalkeeper parries it.
Coach’s note: The dummy must look real. A half-hearted step-over fools nobody. Shout “Sell it!” until the dummy runs at full pace.
Progressions: The dummy taker passes the ball sideways instead, and the real taker plays a first-time ball into the box. The shooting technique here builds on our shooting drills, linked below.
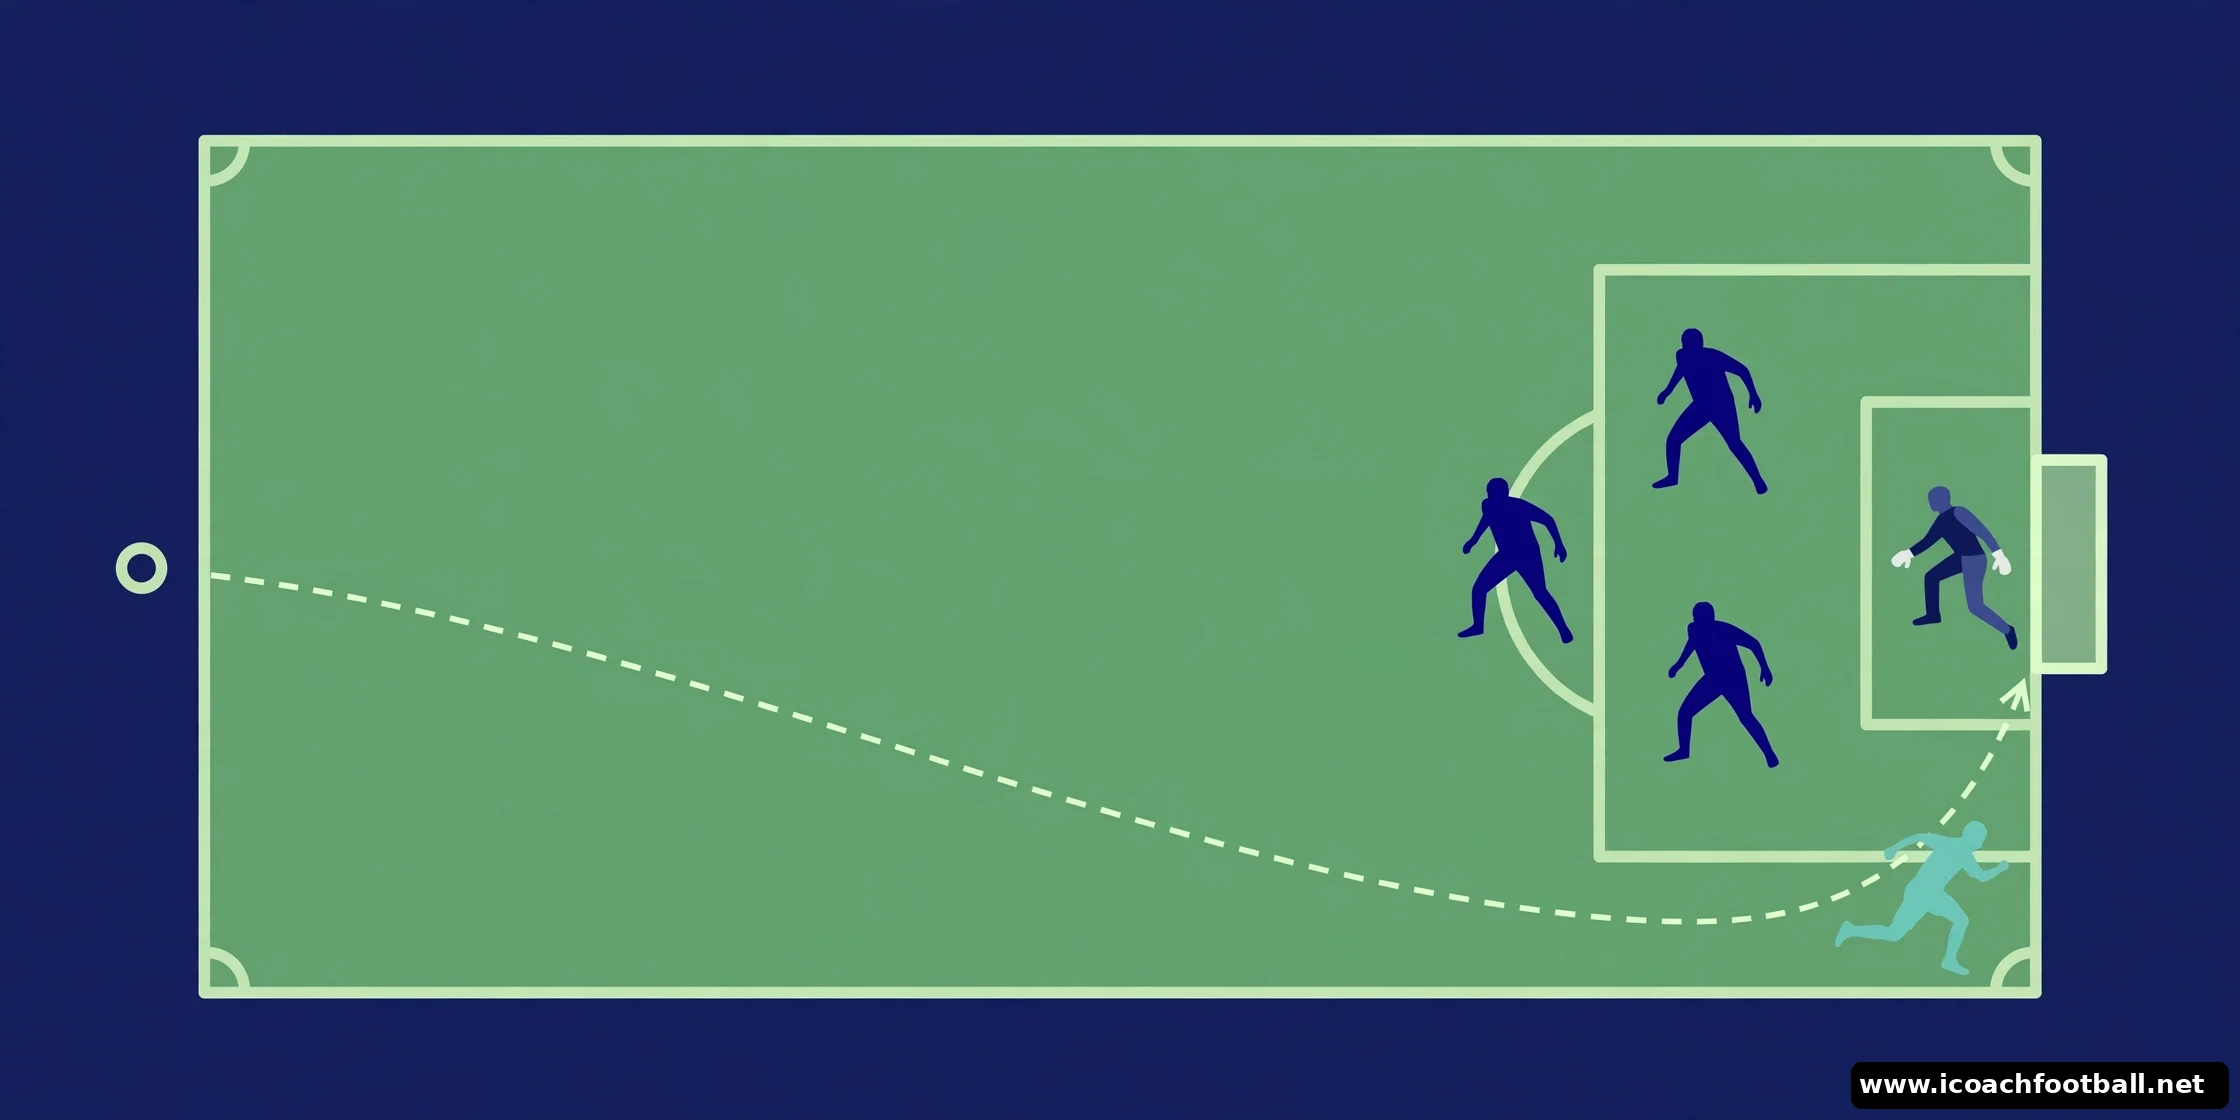
Routine 4 — Wide Delivery to the Back Post
Not every free kick should be a shot. From wide, the best finish is a timed run at the back post.
Setup: Ball wide, 25–30 yards out, near the touchline. Three runners start on the edge of the box: one near post, one penalty spot, one far post. Wall of 2, goalkeeper in goal.
How to Play:
- The taker keeps both hands down for the wide delivery.
- The runners hold their starts and make small movements to lose their markers.
- The taker delivers a driven ball to the back post, above the first defender.
- The far-post runner attacks the ball, heading (U12+) or volleying it back across goal.
- The penalty-spot runner attacks the knock-down; the near-post runner blocks the goalkeeper’s path legally, without holding.
Coach’s note: The delivery must beat the first defender. A ball that lands on the first defender’s head is a wasted free kick. The cue is “Over the first man!”
Progressions: The near-post runner peels to the penalty spot instead, for a cut-back header, and the delivery switches between an inswinger and an outswinger.
Routine 5 — Low and Around the Wall
When the wall jumps, go under it. When the wall holds, go around it. Either way, stay low.
Setup: Ball central, 18–22 yards out. Wall of 4 mannequins or players, 9.15 metres away. One runner on each post for rebounds, goalkeeper in goal.
How to Play:
- The taker signals the low strike by tapping the ball twice before stepping back.
- The taker approaches at a slight angle, with the plant foot close to the ball.
- The taker strikes low with the inside of the foot, keeping the body over the ball.
- The ball goes under the jumping wall, or bends around its end, towards the near post.
- The post runners attack any rebound; the goalkeeper must deal with a skidding ball.
Coach’s note: Low shots need a still ball and a short backlift. If the ball keeps rising, the taker is leaning back. The cue is “Chest over the ball!”
Progressions: Add a defender lying behind the wall to block the under-the-wall shot, so the taker must choose low or around the wall from the wall’s setup.
Routine 6 — The Free-Kick Game
Live free kicks, both sides, with points for routines, rebounds and quick restarts. This is where the first five routines are tested.
Setup: 8 attackers against 7 defenders plus a goalkeeper, in one half. Balls placed at three free-kick spots: central, wide left and wide right.
How to Play:
- The coach awards a free kick at one of the three spots; the attacking team calls the routine by signal.
- The defence sets a wall and marks the runners, with the goalkeeper calling the setup.
- If the ball is cleared, play stays live until a goal, a second clearance or the ball leaves play.
- A goal from the called routine scores 3 points; a rebound goal scores 2; a clean clearance scores 1 for the defence.
- After 6 free kicks, swap the teams and repeat from the other side.
Coach’s note: Stop after three free kicks and reset the organisation. Most live chaos comes from nobody knowing the routine, not from the routine itself. Our corner kick plays use the same signals-first approach, and they pair well with this game.
Progressions: Award a quick free kick with no wall set, so the attacking team must decide in seconds — shoot, lay off or play wide.
Coaching points that decide free kicks
- One routine, one signal. If players are guessing, the signal is not clear enough. Three signals is enough.
- The wall is 9.15 metres away. Pace it out in training. Players who practise against a wall 6 yards away learn the wrong trajectory.
- Rehearse at match speed. Walk-throughs teach positions. Full-speed repetitions teach timing.
- Second ball is a play, not luck. Always leave one runner for the rebound and one player on the edge for the clearance.
- Stay back. Always leave one player behind the ball. A free kick lost on the counter-attack is the worst free kick of all.
Common mistakes — and the fix
- Shooting into the wall. Fix: practise against a cone wall first, and only move back to full distance when 7 out of 10 shots clear it.
- No signal, no routine. Fix: no free kick is taken in training until the signal is given. Freeze any taker who kicks without one.
- Attackers crowding the wall. Fix: attackers stay at least 1 metre from a 3-player wall until the ball is in play, or the kick is given the other way.
- Everyone watching the ball. Fix: runners move only when the taker starts the run-up; freeze any runner who stands still.
- One taker, one routine. Fix: every player practises the layoff and the delivery, not just the shot, so the team is not lost when the taker is injured.
Age adaptations
- U10: Wide deliveries and layoffs only, finished with the feet. No direct shooting over a wall from distance, and no heading. Use smaller goals so distances stay realistic.
- U11–U12: Direct strikes from 18 yards with a low wall, plus the layoff routine. Introduce limited heading only from U12, with a lightweight ball and few repetitions, in line with the heading safety guidance in our near-post run heading drill.
- U13–U14: Full six-routine menu, both sides, with a live wall and the free-kick game. Add the dummy routine and the choice between low and around the wall.
- U15–U16: Let the taker read the wall and choose the routine, vary signals mid-game, and add a second ball from a rehearsed rebound position.
A 45-minute session plan
| Time | Activity | Main objective |
|---|---|---|
| 0–8 min | Striking practice | Clear the wall, hit a named corner |
| 8–20 min | Routines 1 and 2 | Direct strike and layoff |
| 20–32 min | Routines 3 and 4 | Dummy routine and wide delivery |
| 32–45 min | Routine 6 | Live free-kick game, both sides |
How many free-kick routines should a youth team have?
Three is enough to start: one direct shot, one layoff and one wide delivery. Add a dummy routine only when all three work without thinking, from both sides.
How far away must the wall stand at a free kick?
Opponents must be at least 9.15 metres (10 yards) from the ball until it is in play, unless they are on their own goal line between the posts, under Law 13.
Can a goal be scored directly from an indirect free kick?
No. An indirect free kick must touch another player before it enters the goal, or a goal kick is awarded. The referee signals an indirect free kick by holding one arm up.
How close can attackers stand to the wall?
Where three or more defenders form a wall, attackers must stay at least 1 metre from the wall until the ball is in play. Standing closer gives the other team an indirect free kick.
Should youth players practise free kicks against a real wall?
Yes, but build up to it. Start with cones or mannequins, then a wall that stands still, then a live wall that jumps. A wall placed too close teaches the wrong trajectory.
Sources and further reading
The FA, IFAB Laws of the Game 2026-27, Law 13 — Free Kicks: direct and indirect free kicks, the 9.15-metre distance, the 1-metre rule at a wall, and when the ball is in play. Link “IFAB Law 13” to http://www.thefa.com/-/media/files/thefaportal/governance-docs/laws-of-the-game/2026-27/law-13—free-kicks.ashx — The routines in this post follow standard set-piece principles (early organisation, named zones, timed runs and second-ball cover) as used in academy set-piece sessions; the Law 13 link is the authority for the procedure, and no routine here is claimed as approved by or affiliated with FIFA, UEFA or The FA.
For the striking technique behind these routines, see our shooting drills, our corner kick plays and our near-post run heading drill, linked in the routines above.