Square Passing Drills: 4 Essential Variations (Ajax Style)
The “Square” is the most simple yet effective shape in football training.
Used by elite academies like Ajax and Barcelona, Square Passing Drills (or “Box Passing”) are the perfect way to start a session. They serve two purposes:
- Technical Activation: Getting thousands of touches on the ball in a short time.
- Cognitive Warm-Up: Forcing players to think, scan, and communicate before the intense part of training begins.
While this is a passing drill, it is also one of the most effective Soccer Warm Up Drills to activate players mentally before a match.
In this guide, we break down the 4 Essential Variations of the passing square. These progress from simple receiving to complex “Third Man” combinations.
Drill Setup (Standard for All Variations)
- Organization: Set up a square (12×12 yards or 15×15 yards).
- Players: Minimum 5 players (1 on each cone, 2 at the start).
- Time: 3 minutes per variation.
- Direction: Always perform Clockwise (Right Foot) and Counter-Clockwise (Left Foot).
🎥 Watch: Square Passing Drills in Action
Before jumping into the variations, watch this demonstration of the flow and tempo. Notice specifically how the players check away from the cone to create space before receiving.
👀 Key Moments to Watch:
- 0:00 – Variation 1: Focus on open body shape (receiving across the body).
- 0:45 – Variation 2: The “Check-Away” trigger movement.
- 1:20 – Variation 4: The “Third Man” combination (Up-Back-Through).
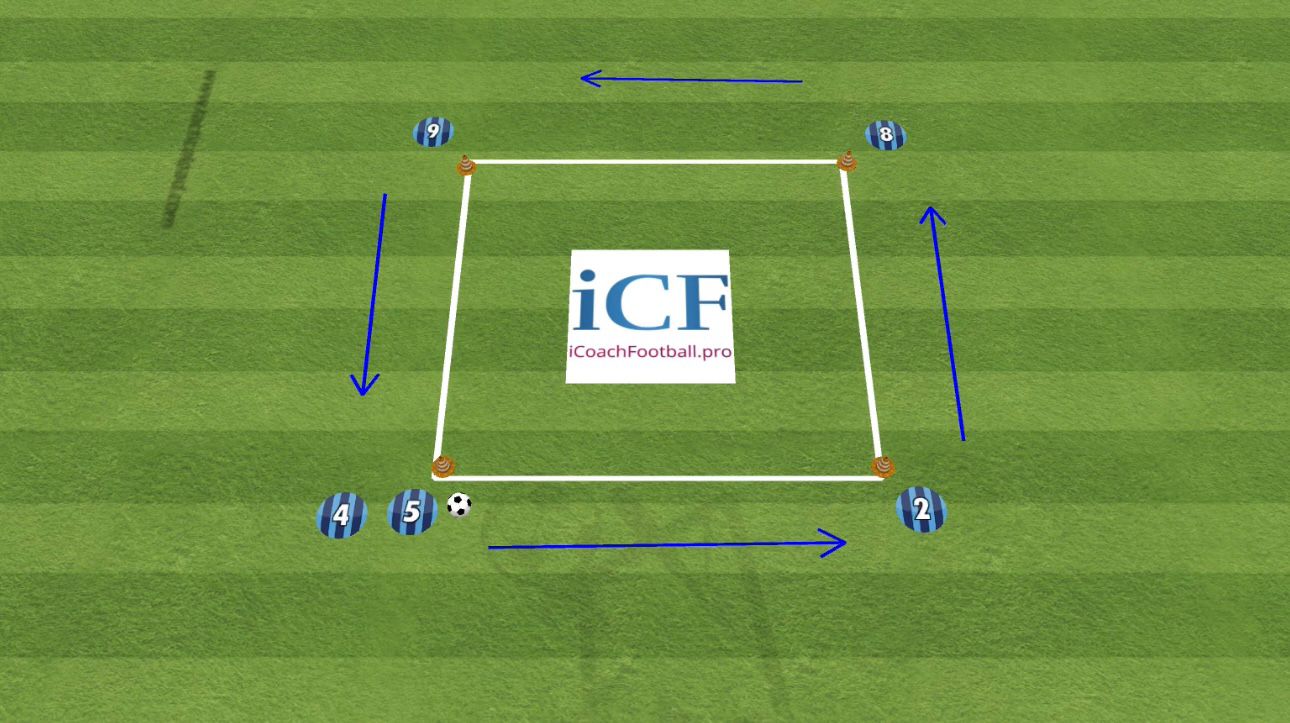
Variation 1: The Foundation (Receive & Pass)
Goal: Perfecting the open body shape and ball speed.

This is the warm-up. The focus is purely on the quality of the pass and the first touch.
- The Action: Player A passes to Player B. Player B receives with the back foot (furthest from the ball) to open up their hips and passes to Player C.
- The Movement: After passing, the player simply follows their pass to the next cone.
- Coaching Point: “Receiver, don’t stand still! Check away from the cone to create an angle, then receive on the back foot.”
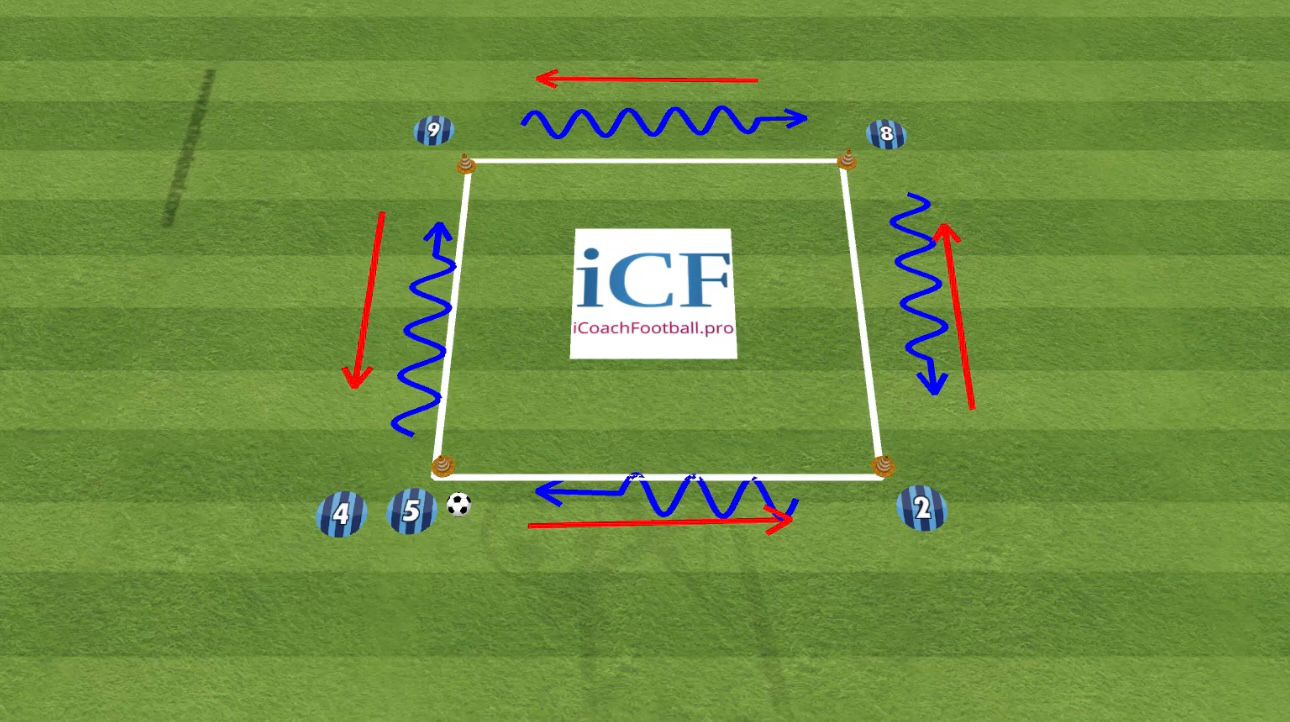
Variation 2: The “Check-Away” (Opposite Movement)
Goal: Creating separation from a defender.

In this variation, we introduce a specific movement trigger.
- The Action: Player A has the ball. Player B checks away (move to the opposite side of the cone) to drag the imaginary defender out.
- The Pass: Player B then sprints back towards the ball to receive.
- The Sequence: Check away $\rightarrow$ Check to $\rightarrow$ Receive $\rightarrow$ Pass.
- Coaching Point: The timing is crucial. Don’t check to the ball until the passer makes eye contact.
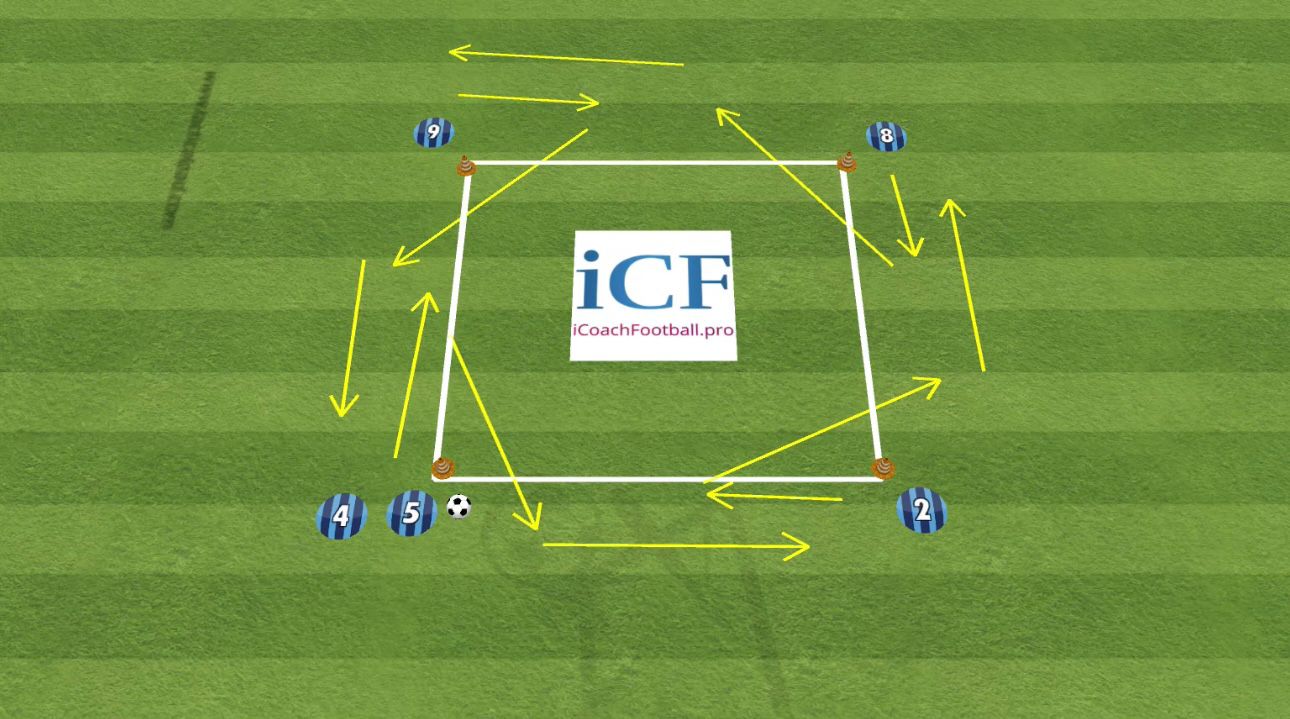
Variation 3: The Wall Pass (1-2 Combination)
Goal: Speed of play and breaking lines.

Now we increase the tempo. Instead of controlling the ball, players must play 1-touch combinations.
- The Action: Player A passes to Player B.
- The Wall: Player B bounces the ball back (1-touch) to Player A, who has stepped forward.
- The Release: Player A plays a through ball into the space for Player B to run onto.
- The Rotation: The pattern continues at every corner.
- Coaching Point: “Pass and move!” The wall pass must be crisp and on the ground.
The wall pass is the foundation of breaking lines. For more exercises like this, check out our library of Soccer Passing Drills.
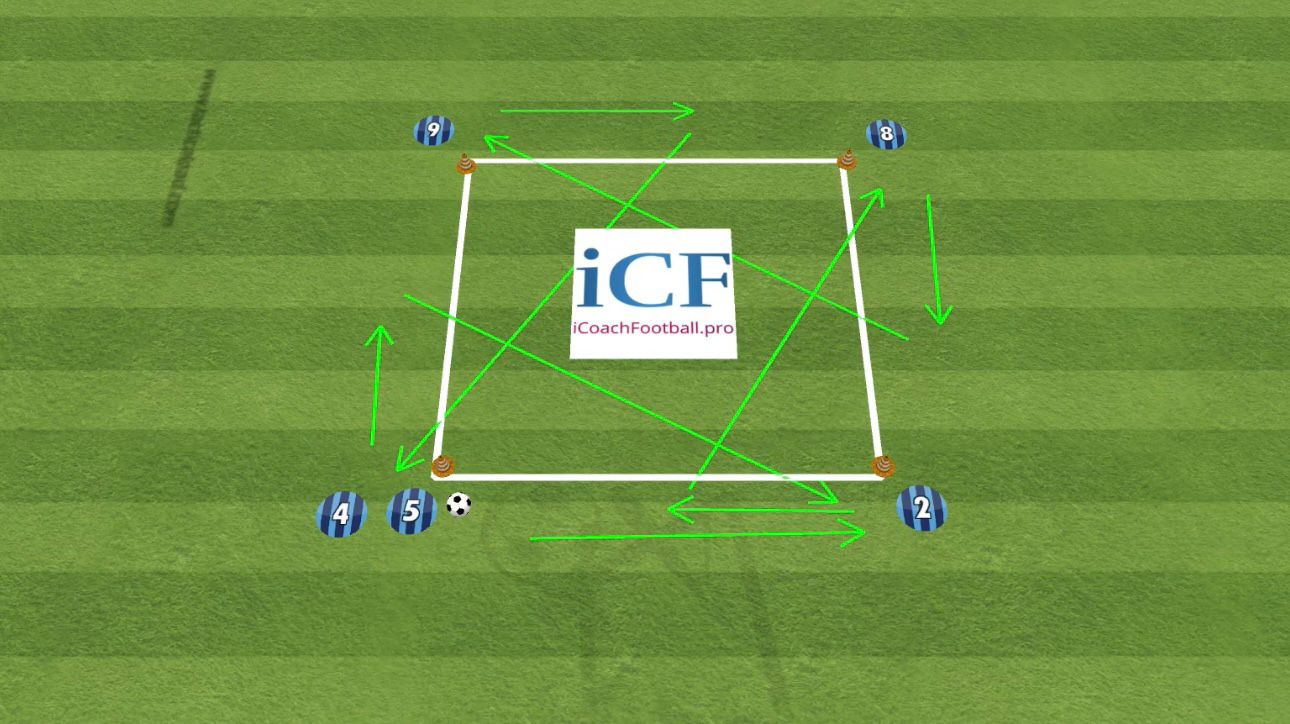
Variation 4: The “Third Man” (Up-Back-Through)
Goal: Cognitive complexity and diagonal passing.

This is the classic Ajax Triangle pattern. It teaches players to use a “Third Man” to bypass pressure.
- The Action:
- Player A skips the closest player and plays a Diagonal Pass across the square to Player C.
- Player C sets the ball (Pass Back) to Player B (the “Third Man” who has supported underneath).
- Player B plays a first-time pass to Player D.
- The Pattern: Diagonal $\rightarrow$ Set Back $\rightarrow$ Through.
- Coaching Point: This variation requires high concentration. Players must scan the field to know where the “Third Man” is arriving from.
This variation mimics the ‘Ajax Triangle.’ If your players struggle with this, try regressing to Possession & Rondo Drills first to teach angles of support.
Why Use These Drills for Warm-Ups?
These 4 variations are not just “drills”; they are Passing Patterns. By running this circuit for 15 minutes at the start of practice, you ensure:
- Bilateral Training: Players practice passing with both left and right feet.
- Mental Alertness: The changing patterns wake up the brain.
- Match Realism: The “Up-Back-Through” (Variation 4) is the most common combination used to break defensive lines in matches.
Frequently Asked Questions (FAQ)
What age groups is this drill suitable for?
The “Square Passing Drill” is incredibly versatile.
For U8-U10: Focus only on Variation 1 (Open Up) and Variation 2 (Check-Away). It teaches the fundamentals needed for U9 Soccer Drills.
For U11-U13: Introduce the “Wall Pass” (Variation 3). This age group is ready for combination play found in our U11 Soccer Drills.
For U14+ & Pro: The “Third Man” (Variation 4) is essential for elite teams to sharpen cognitive speed and passing patterns.
What size should the passing square be?
For youth players (U8-U12), keep it smaller (10×10 yards) to ensure success. For older players (U14+), expand to 15×15 or 20×20 yards to encourage longer, driven passes.
How do I fix “lazy” passes?
If passes are bobbling or slow, stop the drill. Demand “Match Speed.” A bad pass in a warm-up leads to a bad pass in the game.
Can I add defenders?
Yes. To progress this drill, put a passive defender inside the square to try and intercept the “Third Man” passes (Variation 4). This turns the drill into a Rondo.
❌ Common Mistakes to Watch Out For
1. Standing Flat-Footed
- The Error: Players waiting for the ball while standing still.
- The Fix: Demand that players are always “on their toes” or hopping. If they are flat-footed, they cannot check away quickly.
2. Passing to the Wrong Foot
- The Error: Passing to the player’s front foot (the one closest to the ball). This closes their hips and slows down the play.
- The Fix: Always pass to the Back Foot (the foot furthest away). This forces the receiver to open their body shape and see the next target.
3. The “Lazy” Wall Pass
- The Error: In Variation 3, the wall pass is too soft or bobbling.
- The Fix: The wall pass must be “punched” back. It should be crisp and on the floor so the runner doesn’t have to break stride.


